It's been a while since the last time I wrote about this project so there could be many things I'm not including. So I'm focusing on the key development aspects and mistakes I made so the future
me can have a clear guide in his projects
First of all, I just wanted to test my skills with this game, technical skills, artistic skills, and specially I wanted to know If I would be committed to finish it.
It is more than enough for a portfolio project. There where many things that I'd liked to add but now they are out of scope...
Xervonaut is a diffult game. I didn't expect it but people struggle a lot when playing it, specially since it is really unforgiving when it comes to crashing the vehicle (just a single touch
with a wall makes it explode). Honestly, it is easier to code a "single touch destroys the vehicle" because, otherwise, I'd would have to create a collision and health system. Technically
speaking It's not a problem, rather it is a matter of time.
Also, they pointed out that it is really annoying to go to the main menu and press "New Game" when the vehicle crashes or runs out of fuel, there should be a quick "Retry" button.
Fatal bugs were not found during the playtesting.
I learnt how to manage a project of this king and the time dedicated to it while working on my own. Here the most important lessons I figured out of common sense.
DISCLAIMER: I'm just a programmer, not a game designer.
Create materials inside the engine
Import the 3d models with no material. Save the 3D model file (like .fbx) in a separated folder like assets/models. Create a scene (or prefab in unity) for the 3D model and create materials
for that model inside the engine and save it in another folder, i.e assets/materials and finally the textures in assets/textures.
This is handy when it is needed to update the material for whatever reason, it can be done from the engine instead from the 3D editing software an reimporting the model.
Design a simple main menu at the beginning of the project
if you are going to make a serious project and not just experiment with your chosen engine's capabilities, you should create a simple main menu first. This will help you to keep track of the
main loop from the beginning.
I understimated the main menu stage and, in order to finish the game once for all, duct-tape button callbacks with messy code to make it at least functional. Altough the final result is not
that bad since it is a simple menu, for larger projects this would lead to an uncontrolled spaghetti mess. So consider the menu design as important as the core game loop!
Generate UV2 and Bake lights ASAP
Light baking needs UV2 generation for the map's static bodies meshes. I didn't know this until I wanted to bake them. When baking lights, the result is
not always like it looks with dynamic lights. Leaving it for the end, could result in weird lighting results.
Also, every static mesh in the map need an UV2 for light baking. I didn't generate the UV2 for light baking and when realised it was too late. I would have to generate the UV2 for every
mesh, which is a cumbersome task! So I left dynamic lighting... amateur mistake, heh.
Define state management logic through scene transitions
A common mistake is work on the same main gameplay scene for weeks, forgetting that an actual game has different scenes and transitions between them (like a Main Menu scene, that moves to
a Gameplay Scene when hitting play button). Different states should be managed throughout these scenes with singletons.
Brief example of what happens when forgetting that there is a Main Menu scene that comes before the Gameplay Scene: There is an autoload (singleton) that manages gameplay logic and states
(like fuel, boxes collected, etc). When I created the Main Menu after being working on the same Gamplay Scene for weeks, I realised this autoload was running even in the Main Menu when it should
be running only during gameplay. I fixed it by adding a new state to its state machine called MAIN_MENU to tell it to not execute gamplay logic if MAIN_MENU was the current state.
Altough the problem was fixed in 2 minutes, the state tracking through scenes should have been considered from the early development stages.
Implement Texture blocking
It is easier to design a map while using texture blocking instead of a plain white material. Well, that's the point of texture blocking...
Implement assets or placeholders from the beginning
If you do not have the assets ready yet, there are tons of placeholders out there you can use temporarily. It's not just adding a texture or a sound, It is also designing how it is going to
be implemented inside the project. For example, naming conventions for assets, when to trigger audio, audio bus organization, etc.
Design on paper
Try to write down and design general aspects of your game on a blank sheet first. It is easier to code following a previously well defined idea rather than improvising on the fly.
April 20th, 2025
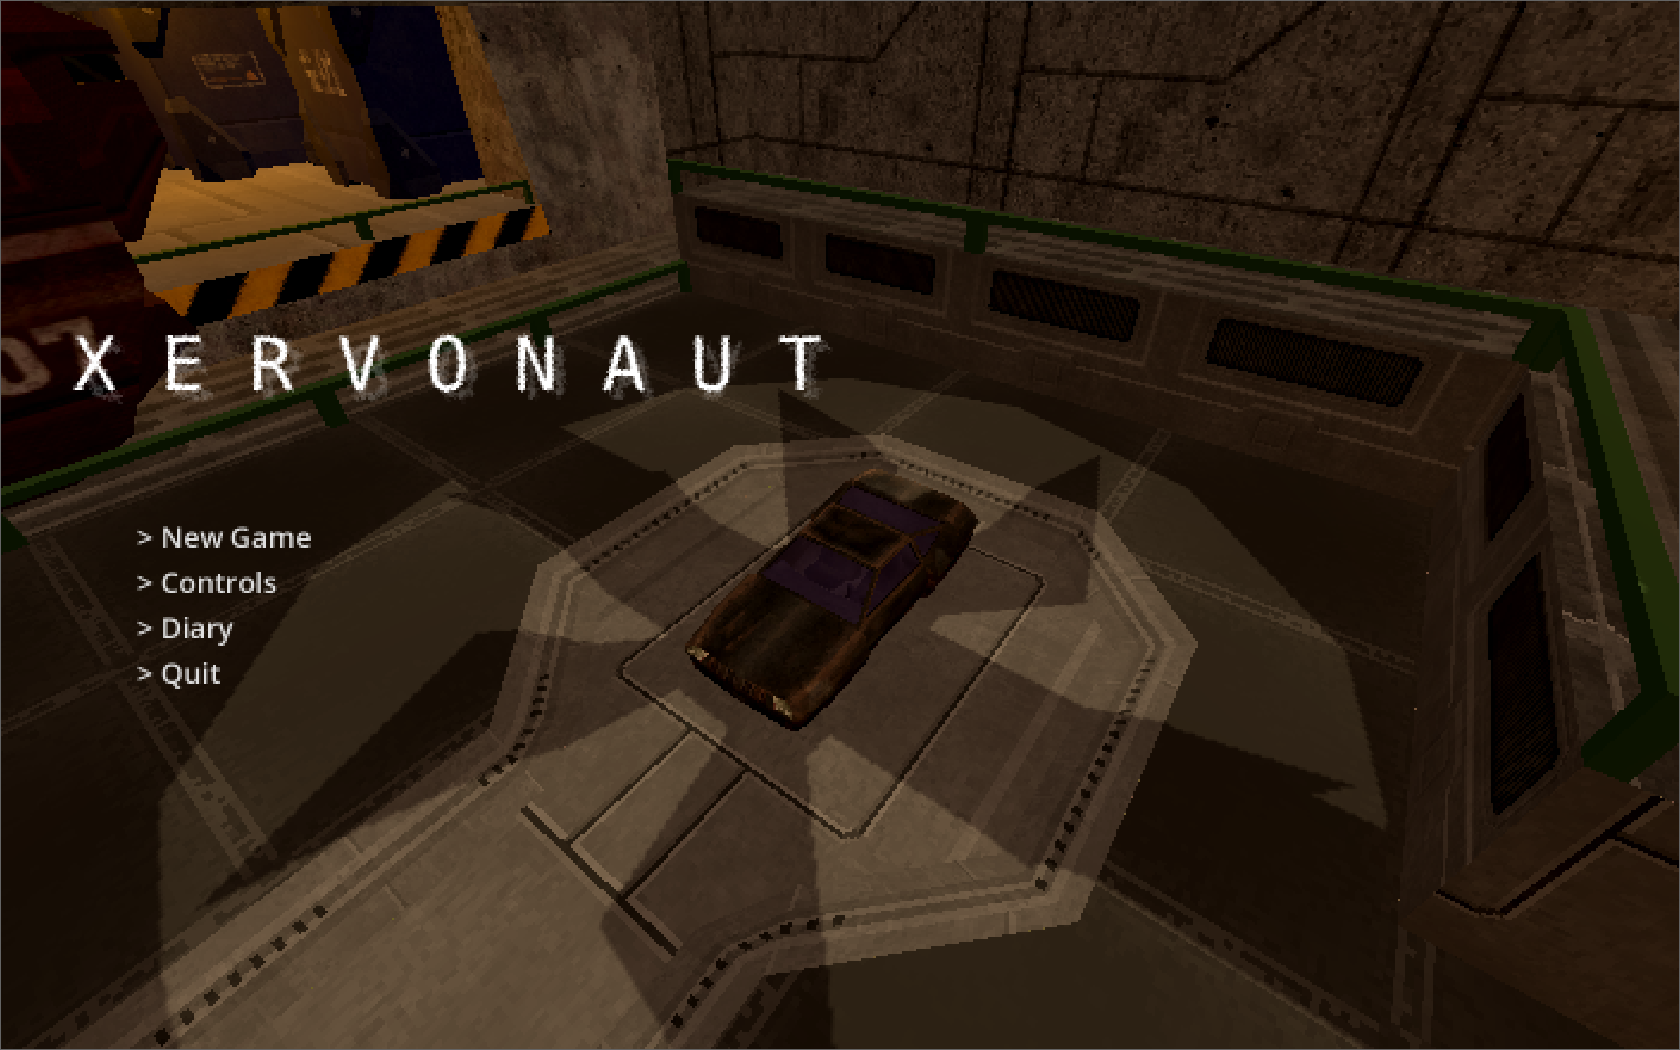
XERVONAUT
A WIP game made with Godot Engine
About the game
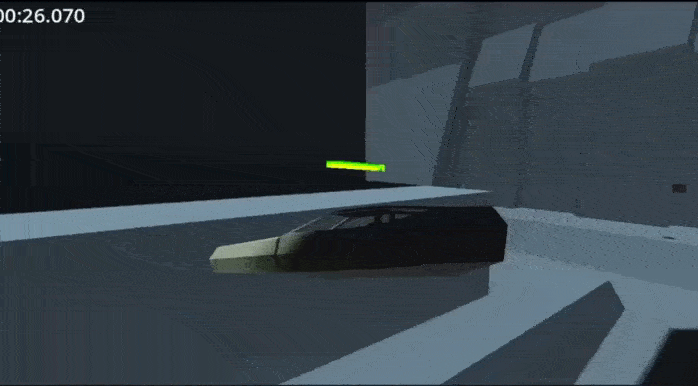
Xervonaut is a sci-fi action game where the player must complete deliveries in a futuristic city using a flying vehicle, all within a limited timeframe.
The concept is taken from games like Crazy Taxi, but involves delivering cargo/boxes instead of transporting people to different locations.
From movies like Blade Runner, I took the idea of multilevel, vertical cities that can be navigated with flying vehicles.
I started this project in February, 2025. The vehicle controller is based on an abandoned space game project I was working on in early 2024.
The design challenge
Since I am a programmer and not a game designer, I can create most of the mechanics I want with ease, but I lack the knowledge of basic design concepts and practices, so creating the flow for a whole game is a real challenge.
Thus, armed with my most powerful weapon: common sense, I came up with a simple game loop that could let me complete my very first game on my own, without ending up with a spaghetti project lacking direction.
The Game Loop
The first step was to identify the basic game elements (Player, Box, Box Spawner, Delivery Point). Then determine the basic Game Loop:
Box spawns in Box Spawner
Player picks up Box
Player delivers Box in Delivery Point
Loose conditions:
The Player's vehicle crashes. There is no health system, colliding with the environment is enough to make the car explode. This is also helps reduce overall complexity of the project.
Time is up
There is no win condition, instead, the player has to deliver as much boxes as they can within the given time.
Once the core game loop is defined, I can start writing its logic with pseudocode. Since gdscript is quite simple, in my case it is easier to write code in its propper syntax directly.
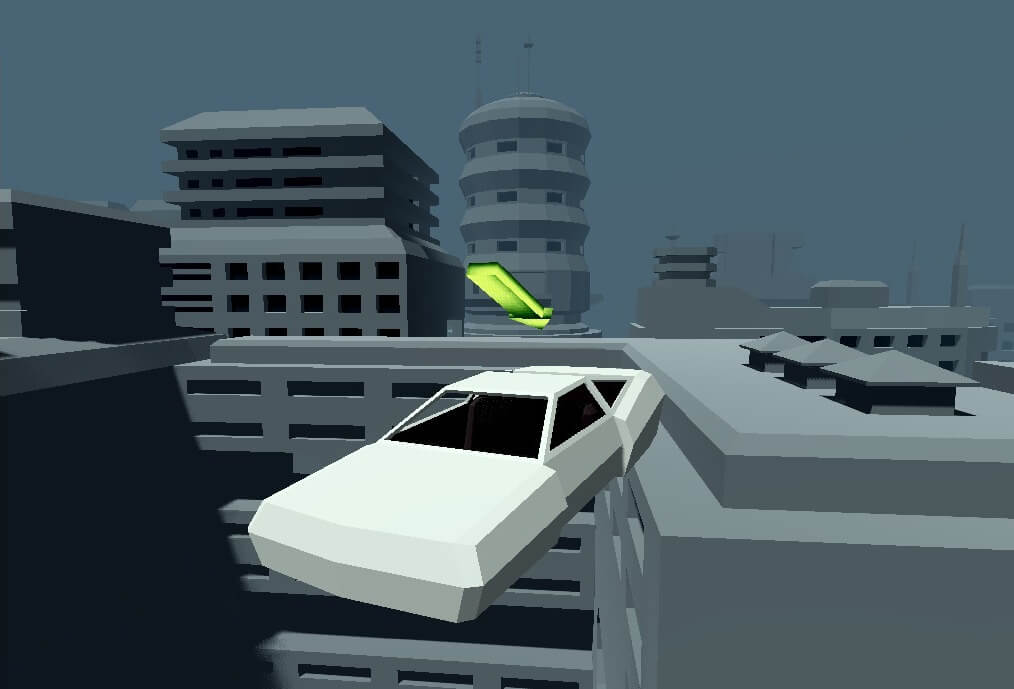
Camera and controls:
I want to make the game controls as simple as possible, that's why I made a fixed camera.
Ideas for further development:
Punish the player for slow driving. The slower the player drives, the faster the time/fuel runs out.
The Panopticon Document
Godot 4 lacks of a built-in tool that displays the relations between every element on the project. If you want to explore the way every element interact with each other (i.e collision layers, scenes/code related to the game loop, etc), you have to open each element involved, reading the configuration or code and understanding the links between them and how they work together.
For example, if I want to know which objects collide with Player, first you have to open it and check which layers/masks are associated to it, then check scene by scene the ones that have the necessary layer configuration to collide with Player.
This is a cumbersome task that can be solved by having a graphic document where every relation is detailed and visible from a single place. I call this document "The Panopticon".
Exploring the collisions of every relevant scene with this document would look something like this:
Player Col. Layers
Root: Layers: 1 Masks: 2
BoxDetector: Masks: 3, 4
Box Col. Layers
Root: Layers: 3
Map Col. Layers
Root: Layers: 2
Other scenes
...
More information the document contains:
Scenes (Each one contains the references to their relevant children nodes and collisions).
A description of the game loop with pseudocode of the involving scenes.
Autoloads (Game managers).
Directory structure.
The biggest advantage is having all the relevant project information visible in one place, although the disadvantage is that the document has to be updated manually and constantly.
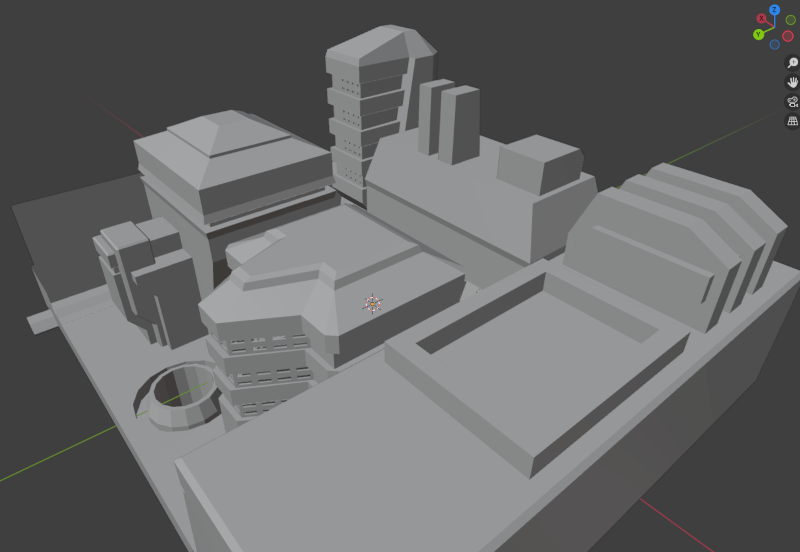
Level Design
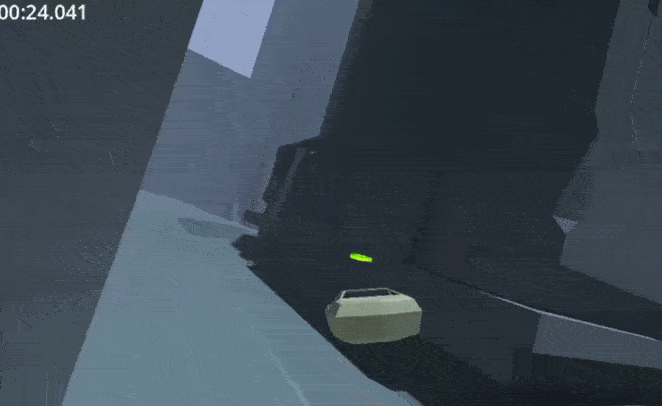
I have zero experience in level design. So I struggled to create a decent fun levelwhere the driving and flying experience feels fluid.
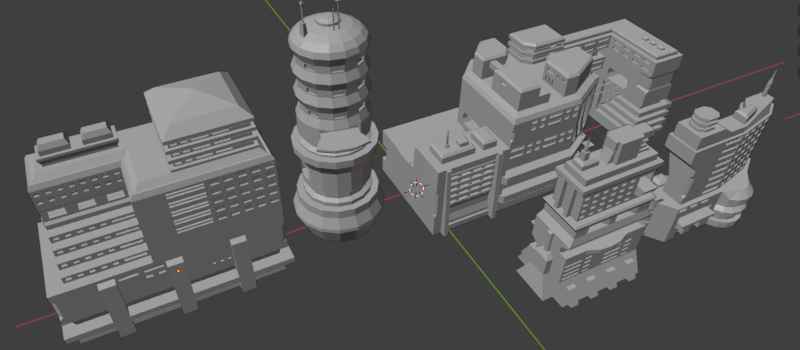
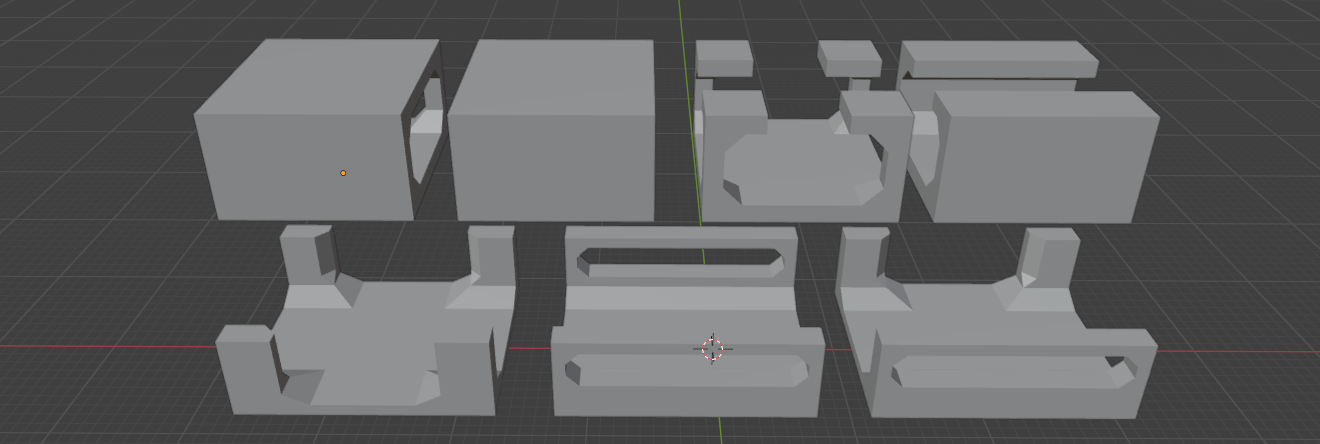
I made some preliminary buildings in Blender and tried to shape a city. But I wasn't pleased with the result, the traveling experience around the city ended up feeling dull.
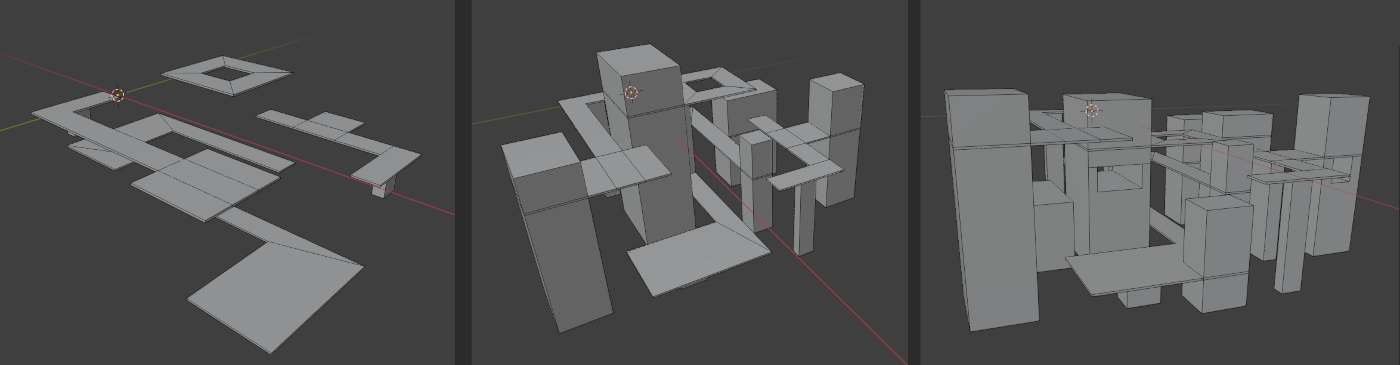
I also tried to make platforms resembling flying streets, stacking them in multiple levels, and separating them with buildings. But again, I failed and the result was boring.
So i made modular paths and with them I made streets and placed the buildings that I made in first place around them. This solution works, both artistically and technically. When the player is flying around the city, the experience feels fluid and convincing.
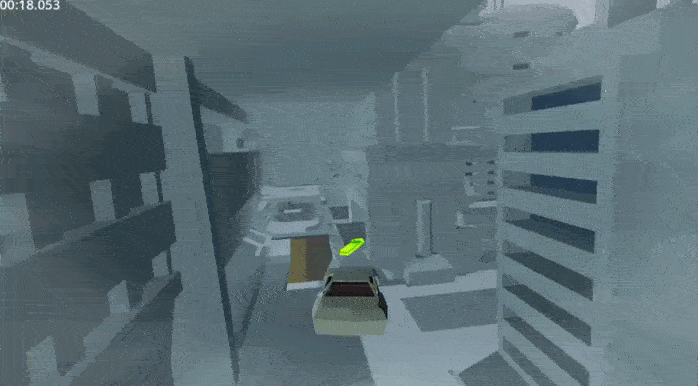
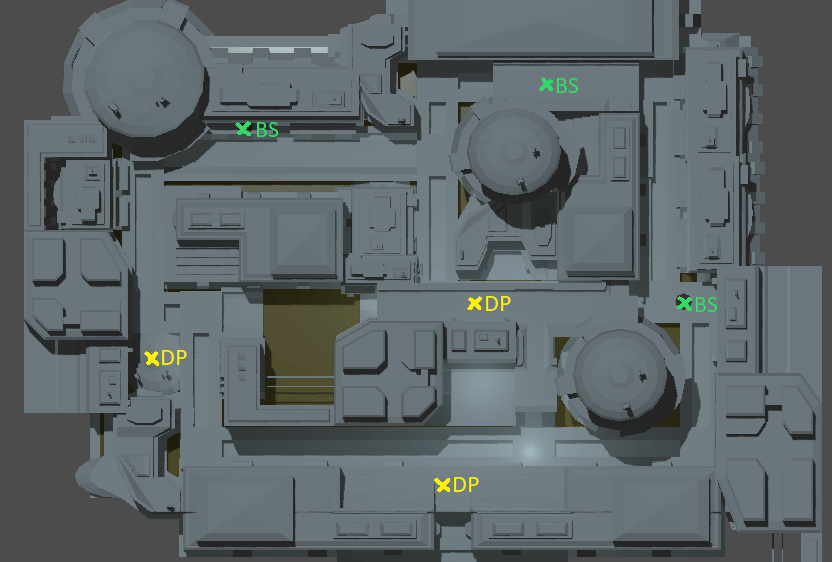
As for the Box Spawners/Delivery Points placement, I decided to place all of the spawners on one side of the map, and all of the deliveries on the other side. So the player has to allways travel from one end of the map to the other in order to pick up/deliver boxes.
Current design issues:
There is a problem with these modular tunnels, if I place a Box Spawner or a Delivery Point inside these paths, it is really hard to fly into and out of them. This leads to an interrupted flow when the player has to dive into these paths to collect/deliver a Box since the space there is too narrow (and will probably be obstructed by traffic in the future).
Certainly, placing spawners or deliveries here is not unacurate, since it is not mandatory to pull over the vehicle to get into these tunnels, but affects the overall difficulty of the game considering that not all the players could be skillful enough to do it. Moving the pick-up/delivery points to another place would not solve the problem either, because the level would be left with an unused area.
It will be modified in the future.
I found another problem when placing the Box Spawners/Delivery Points on the rooftops. In this case, sometimes it is needed to do a full stop in order to elevate the vehicle and accessing these areas, screwing up the flow of the game...
I opted for a "medium verticality" spawner/delivery placing. The pick-up/delivery points elevation is tweaked in a way where there can't be found on the rooftops, nor in the ground. Like so, it is not necessary to fly neither too high, nor too low in order to reach these points.
Mistakes I made so far
Not recording development times
Underestimating level design
Not baking the lights first
Not designing basic menu interactions
Understimating states through scene transitions
Making a single material for each texture of the map instead of an atlas